
How to Install Self-Drilling Rock Anchors: A Step-by-Step Site Guide
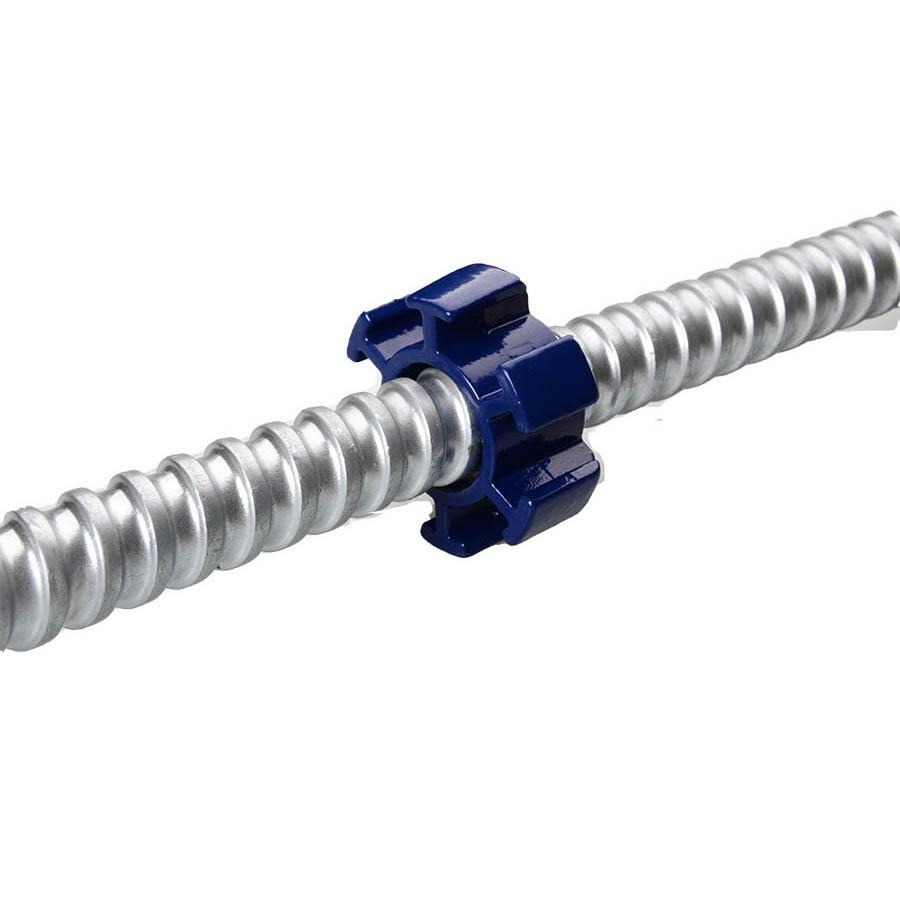
Watch a crew install conventional rock anchors in bad ground and you’ll see a familiar routine: drill, case, pull the casing, drop in the bar, grout — and start over when the hole caves in halfway through. A self drilling rock anchor skips most of that. The bar drills its own hole and the grout goes through the bar itself, so what used to take five trips takes one. This guide walks through the installation the way experienced crews actually do it, step by step.
It assumes the anchor type is already decided. If you’re still choosing between systems, that’s a different article. This one is about getting a self drilling rock anchor into the ground correctly, the first time.
What You’ll Need on Site
A self drilling rock anchor installation needs less gear than the conventional method, but every item on the list earns its place.
- A rotary or rotary-percussive drilling rig, sized to the bar diameter you’re installing.
- The self drilling rock anchor bars themselves, with drill bits matched to the expected ground.
- Couplers for extending bars, plus bearing plates and nuts.
- A grout mixer and pump, a grout stopper, and clean water for mixing.
- Cement grout — water-cement ratio typically 0.35 to 0.45.
- Tape, marker, and level for layout, plus standard PPE for everyone near the rig.
Step 1 — Mark, Position, and Set Up
Mark every anchor position before the rig moves into place, and check spacing and angle against the drawing. Fixing a mislocated anchor after drilling is nobody’s idea of a good day. Set the rig up square to the marked angle: a few degrees off at the collar becomes a large miss at depth.
Take a look at the ground right at the collar. Loose fill or rubble at the surface can deflect the bar on entry, so clear it away or start with a short starter hole. A self drilling rock anchor that starts true stays true.
Step 2 — Drill With the Bar Itself
Thread the drill bit onto the leading end of the self drilling rock anchor and connect the trailing end to the rig. Start rotation and feed together, and let the bit do the cutting — forcing it just wears the bit faster. In soil or weathered rock, plain rotation is usually enough; in hard rock, switch on the percussive action.
Extend the string with couplers as you advance, keeping the feed steady. Watch how the drilling feels: a sudden change tells you the ground changed, and that’s worth noting for the grouting plan. A well-run self drilling rock anchor installation feels uneventful, which is exactly the point.
Step 3 — Grout Through the Hollow Core
Once the self drilling rock anchor reaches design depth, grouting begins — and this is where the hollow bar earns its keep. Fit the grout stopper about 25 cm back from the collar, connect the pump to the exposed end of the bar, and pump from the bottom up so the grout pushes air and water ahead of it instead of trapping them.
Watch the pressure gauge and stop when the hole is full and pressure reaches the design value. In fractured ground, holding pressure a little longer drives grout into the cracks — free extra bond. Don’t rush this step: a self drilling rock anchor is only as good as the grout surrounding it.
Step 4 — Fit the Plate and Nut, Then Load
After the grout cures to the specified strength, slide the bearing plate over the bar and run the nut down. The plate should sit flat against the face and bear evenly — if it rocks on a high spot, dress the face first. Tension or torque to the design value and stop there; over-torquing a fresh anchor is a classic way to ruin good work.
Log every anchor: depth, grout take, and final torque. That record is what the engineer checks, and it’s your proof the job was done right.
Mistakes That Slow Crews Down
Most slow or failed installations come down to a short list of avoidable errors:
- Wrong drill bit for the ground — a clay bit in hard rock, or the reverse, turns a quick job into a long one.
- Grout mixed too thin, so it bleeds and shrinks, or too thick to pump through the bar.
- Skipping the grout stopper, so grout flows back out of the collar instead of filling the hole.
- Drilling past design depth ‘just in case’ — extra meters of bar and grout nobody specified or will pay for.
- No installation log, which causes arguments later about what actually went into the ground.
Avoid these and a self drilling rock anchor goes in fast, first time, every time. That’s the whole reason crews switch to them.